Modern

Monday, March 30, 2015

Letting Go: What I learned at the fair

I am not the most spontaneous person. Nor am I very good at living life in a "fly by the seat of your pants" fashion.

I like things planned out.

I like to know what's on the calendar, when it will happen, and what it will look like.

I'm an organized person by nature, so having structure, routine, and plans make me feel secure and comfortable.

However, as I am quickly approaching my 40's, I'm learning that while all of these traits are valuable, it's just as important to learn to "let it go, and get a little crazy sometimes."

My husband is far better at being spontaneous than I am, and after 13 years of marriage he's starting to rub off on me.

This past weekend, we followed our usual Saturday routine:


  1. Brian gets up with the kids and I sleep in
  2. I get up around 8, enjoy some coffee and hang out
  3. Everyone gets dressed
  4. We head out to a local restaurant for breakfast
  5. We run errands and then come home and go about our afternoon
We follow this pattern almost every Saturday, and I love it.

However, last weekend, on our way home from breakfast, Brian spotted a sign for a local community fair and immediately did a U-turn making his way to what I felt was a dirty, dangerous, not-on-the-calendar-today kind of event.

As we drove up, the boys spotted all of the carnival rides and immediately went crazy. They were sold before we even got out of the car.

I was not.

But Brian said, "Let's just go check it out and see what things cost."

Thirty minutes later, both boys had all-day, unlimited ride wrist bands on, and we were committed to a day at the fair.

It wasn't on my "To Do" list that day.

It certainly wasn't written on my calendar.

And it was very spontaneous.

But ya know what... we had an incredible time!

The boys rode all of the rides over and over and over again.

Brian and I just stood back and watched them with smiles so big our cheeks hurt.

It was pure fun for those kids, and something they will always remember. And I'm so thankful for a husband who pulls me out of my comfort zone and drags me encourages me to try new things.

It was a valuable lesson I learned that day; and I hope to embrace more impulsive, naturally fun, unplanned moments like that in life.

Here's a little recap in pictures...


Monday, March 23, 2015

Recipe: Taco Soup

Today is one of those wall-to-wall days when the moment my feet hit the ground this morning, I knew there would be little slowing down.

On days like these, I always look for a recipe that can be assembled quickly, ahead of time, and that requires minimal clean up.

Enter...Taco Soup.

This recipe is so simple, it's not even really a recipe. But I thought I'd share it just in case you have a busy day lined up this week and still want to serve your family a hearty meal at the end of the day.

Taco Soup

Ingredients:

  • 1 lb. ground beef or chicken
  • 1 envelope of taco seasoning
  • 1 can sweet corn, drained
  • 1 can pinto beans, drained
  • 1 can kidney beans, drained
  • 1 can black beans (Do not drain)
  • 1 can of petite diced tomatoes (Do not drain)
  • Shredded cheese
  • Fritos or Tortilla chips
*Optional ingredients: Sour cream, cilantro, green onion, jalapeno slices

Directions:
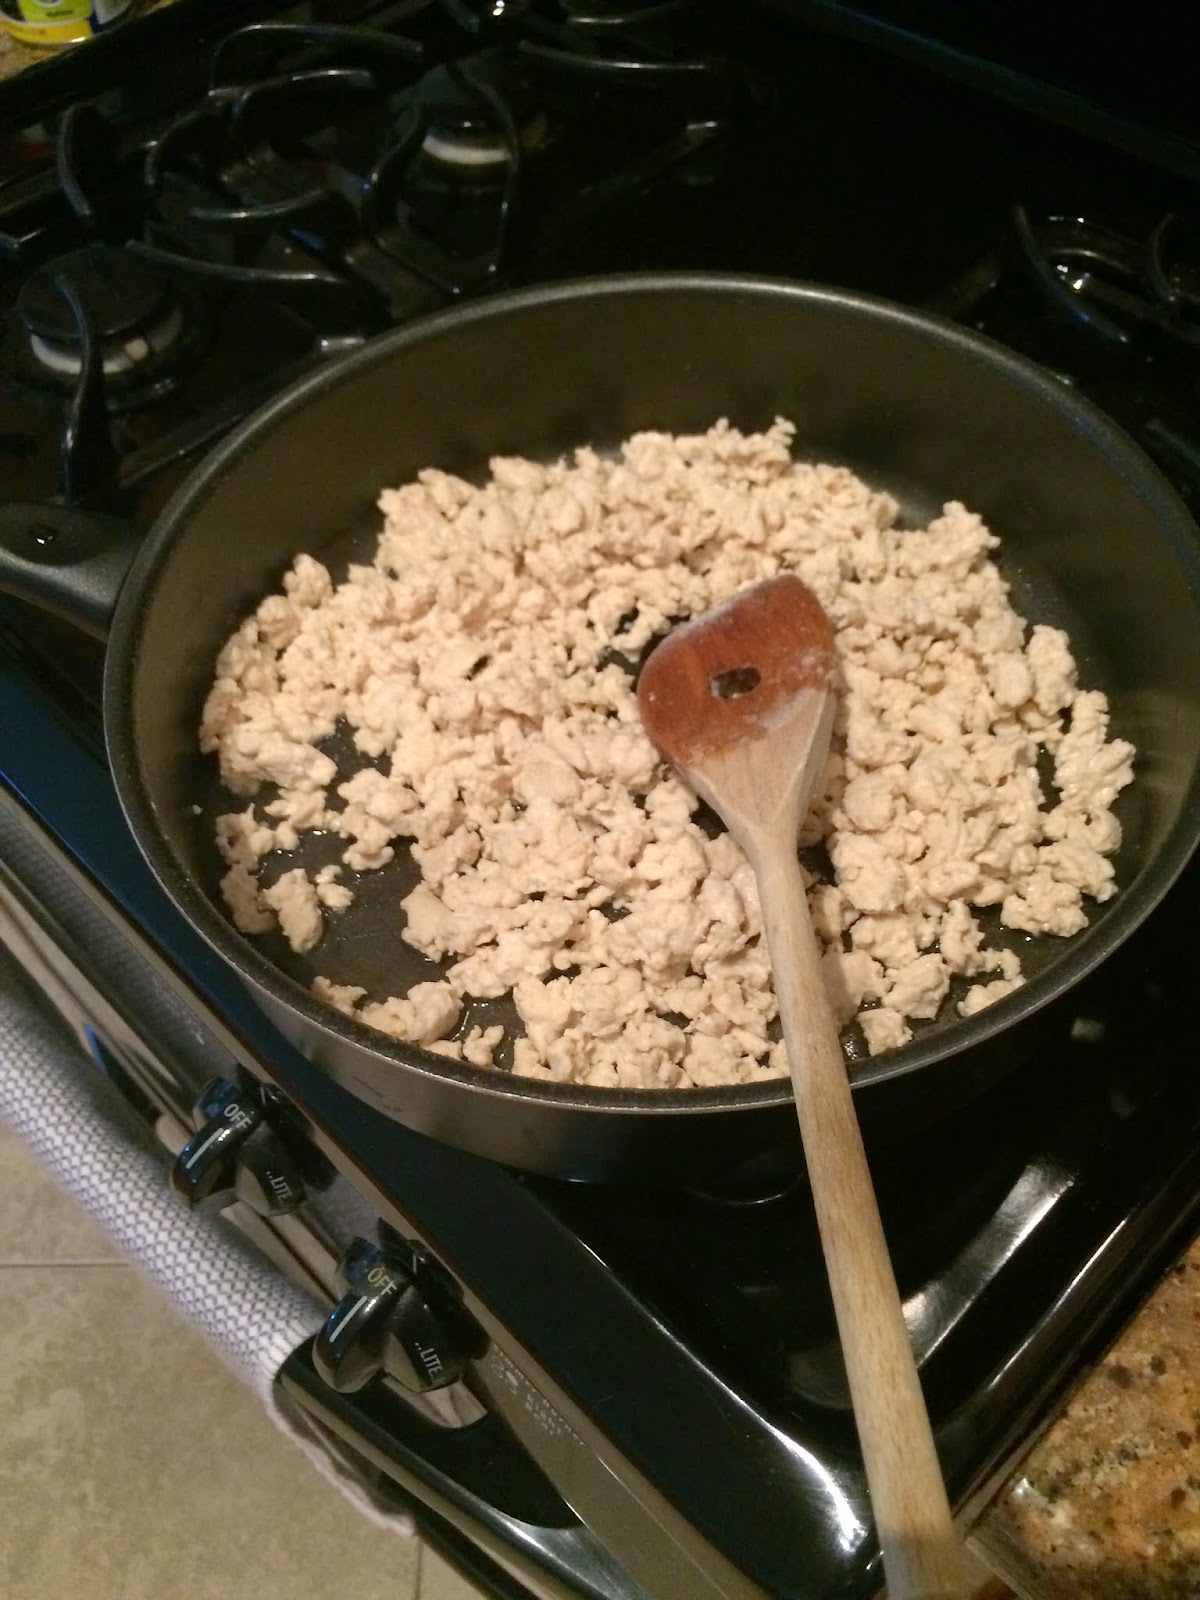
1. Brown your meat in a skillet (I like to use ground chicken for this recipe and I cook it in a non-stick skillet with a tablespoon or two of coconut oil... and no, it does not taste like coconuts, it's just a super healthy alternative to vegetable oil).

2. Spray your slow cooker with non-stick cooking spray and dump in all the canned ingredients plus the taco seasoning. Then add in the browned meat. Stir everything around until all the ingredients are swimming happily together in their slow cooker hot tub.


3. Cook on low for at least 3 hours, but up to 6 hours will make it even better.

I like to really pile on the toppings with this recipe. I add sour cream, diced green onions, shredded cheese, diced jalapenos, and even Fritos! If you don't have Fritos, tortilla chips make great "spoons" for dipping. 

Image result for taco soup

Hope you enjoy this recipe on your next busy day. As for me, I'm off to help with math homework, finish the laundry, prep for our Cub Scouts meeting, and entertain two rambunctious sweet boys the rest of the afternoon. Is it 5 o'clock yet? Ha.. ha..ha.,.

Sunday, March 15, 2015

St. Patty's Recipe: Super Easy Corned Beef

Popping in quickly today to share my favorite St. Patrick's Day recipe.

As you know, Corned Beef & Cabbage is the traditional Irish meal served for St. Patrick's Day. But roasting it can be tricky because you don't want it to be tough, but you definitely want to make sure it's cooked all the way through.

My solution to this, is using ye ol trusty Slow Cooker! (That sounded more Scottish than Irish, but stick with me).

Here's how you make perfectly cooked Corned Beef and all the sides that go along with it in a few easy steps:

1. Spray your slow cooker with a non-stick cooking spray.
2. Place the following items into the slow cooker:

  • 1 small onion cut into bite-sized pieces
  • 1 bag of baby carrots (or a bag of regular carrots cut into 2-inch pieces)
  • 1/2 head of cabbage, coarsely chopped
  • 7-10 small red potatoes, quartered
3. Pour 3 cups of water on top of the veggies and then (1) 6 oz beer (Guiness or Harp is always a fun choice for St. Patrick's Day).
4. Place the Corned Beef brisket on top, sprinkle it with the enclosed spice packet.
5. Set the Slow Cooker to high and cook ALL DAY (at least 8 hours). One hour before serving, stir ingredients and let cook for one more hour.

This should result in a deliciously tender corned beef with all the sides ready to be served right along with it. Pair it with a loaf of crusty bread and some rich Irish butter, and you've got yourself a super easy, and very traditional Irish meal.

Happy St. Patrick's Day everyone! Hope you don't get pinched. ;)

Image result for someecards st. patricks day

Thursday, March 5, 2015

Bunny Bars: An Easter Treat

I almost feel guilty posting this recipe because if you make them... you will want to eat them all.

I first saw this recipe on Pinterest and thought, "Well those look amazing. But nothing I've made from Pinterest ever turns out the way it looks, so I doubt they're that good."

Then I saw a similar recipe on another blog and it looked just as good, so I thought, well, I'll do a "test batch" and see how they turn out. Oh man. They're so easy, and so good.

The ingredients are very basic, and you don't even need an electric mixer. Just make sure you completely soften your butter. Do not microwave it to soften it, you need to let it come to room temperature. This may require taking it out of the fridge in the morning if you're making them in the afternoon, or even the night before. Butter will not go bad sitting on your counter. Promise.

Okay, so here's the recipe...
Ingredients:
  • 1 cup flour
  • 1/2 tsp salt
  • 1/2 tsp baking powder
  • 1 cup sugar
  • 1/2 cup (1 stick) SOFTENED butter
  • 2 eggs, lightly beaten
  • 1/2 tsp vanilla
  • 1/2 cup chocolate chips
  • 1 cup Cadbury mini eggs
  • *Optional: 3/4 cup chopped walnuts
Directions:
1. Preheat oven to 350 and grease a 9x9 baking dish.
2. Sift together the flour, baking powder, salt and sugar.
3. In another bowl, lightly beat the eggs with a fork, and then add them to the dry ingredients.
4. Add the softened butter and vanilla to the dry ingredients and mix well with a spoon to combine.
5. Pour the batter into the baking dish and spread evenly.
6. Bake for 30-35 minutes.

They kind of taste like a cross between cake batter and cookie dough with giant pieces of chocolate hiding inside. Just a warning...they're addictive, so cut them into small pieces. ;)